For this set of exercises, we're going to go thru using the ISO media linked above on a Windows 7 VirtualBox setup. If you are using any other OS (e.g. Mac OSX, Linux, Unix), instructions should be much the same.
Much of the material we will be covering in our workshop is also covered in our recently published book
pgRouting: A practical guide. We'll be selling hard-copies of this at the workshop and the FOSS4G2017 Book booth in addition to
our other PostGIS and PostgreSQL books. Our workshop is almost full, but still a couple more seats left. Many workshops are full so you should
sign up and buy now if you want to attend a workshop. Also note that last day to buy tickets on-line for the conference itself is August 3rd. Given that we have a 1200 seat capacity and a little over 1000 tickets have been sold, it's possible there will be no more tickets left to sell at the conference.
Installing VirtualBox
Download virtual box installer from https://www.virtualbox.org/wiki/Downloads and run as usual
For Ubuntu deskop you also have option of
apt-get install virtualbox-ose
More detailed instructions for installing and configuring Virtual Box are Installing VirtualBox.
Creating a VM with the ISO
- Download the ISO from https://sourceforge.net/projects/osgeo-live/files/11.0/
Use the i386.iso if your laptop doesn't support virtualization (if you see only option to create only 32-bit VMs in VirtualBox). Otherwise use 64-bit.
- Launch Virtual Box and Choose -> New
Create a VM: Name: OSGeoLive11, specify Type: Linux, Version: Unbuntu (64-bit)
If you do not see any 64-bit options in the menu, it means you don't have Virtualization enabled in your bios. You need to reboot your computer first, get into bios and turn on Virtualization. Where it is in bios veries depending on bios.
- Memory Size: 1024 MB (default) is fine
- Create Virtual Disk now, VDI default is fine.
- Storage on physical hard disk - default Dynamically allocated is fine.
- For disk size, change the 10.00GB to 25.00GB
- Now Launch the OSGeoLive11 VM you just created, you should be prompted for a disk. Point at the .iso file you downloaded.
Just trying it out
If you just want to test drive software on disk and not save your work, you can choose the default: Try Lubuntu without Installing and click the enter key
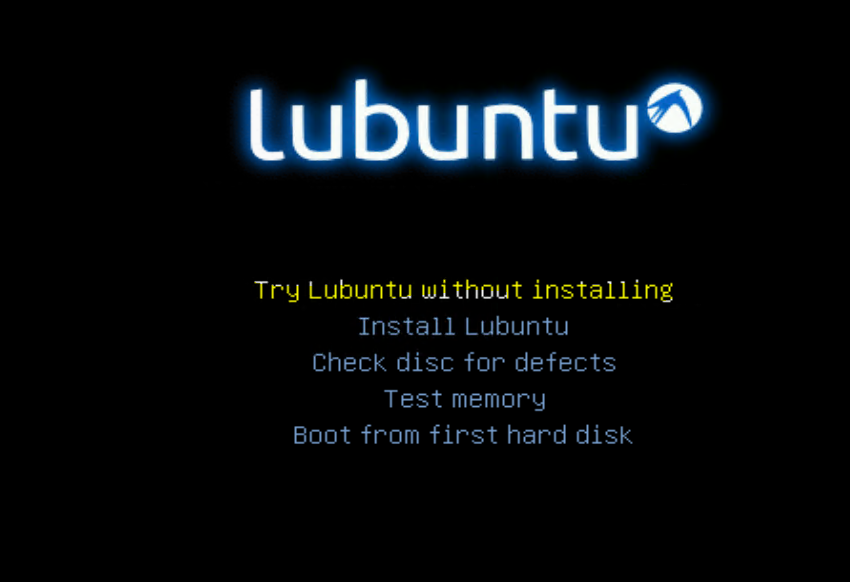
Choose keyboard, click enter key and then once you are in, you should have a screen that looks like:
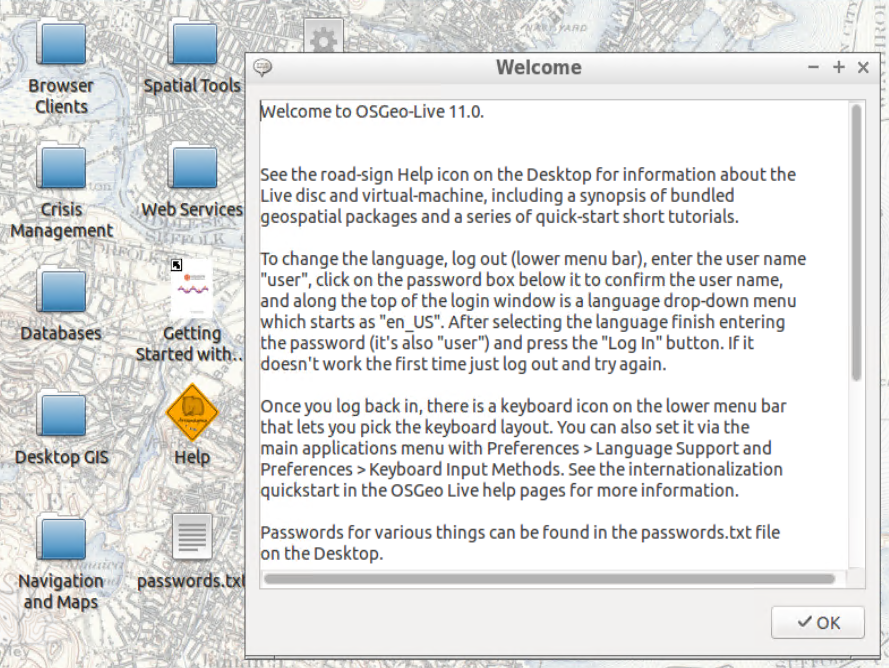
To explore PostGIS and pgRouting, click on the Databases folder on the desktop: Should show you a screen like:
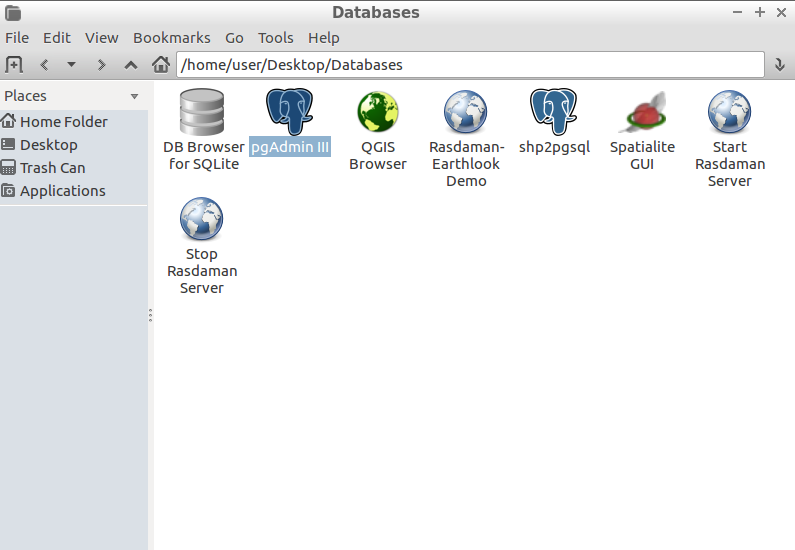
Now launch pgAdmin III and click into the PostgreSQL You can explore the databases and even create new ones.
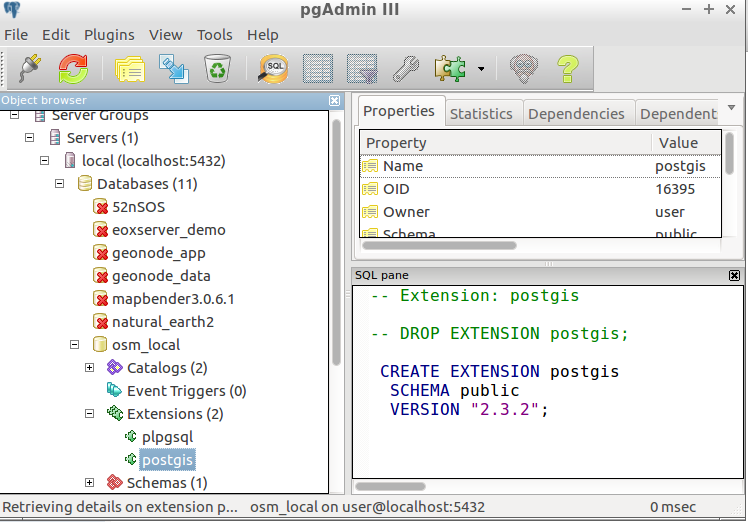
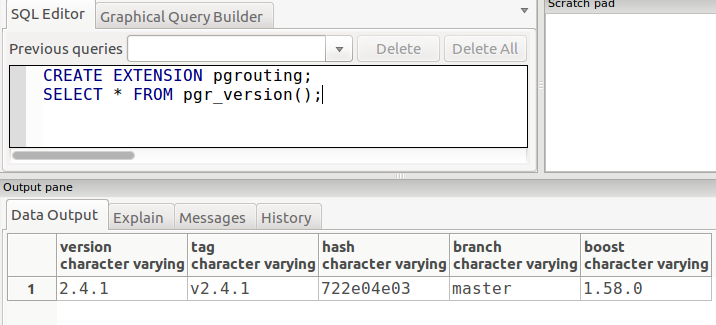
You can for example install pgrouting in the osm_local database using the gui or with SQL command:
CREATE EXTENSION pgrouting;
SELECT * FROM pgr_version();
Using it for real work
Although you can create databases, edit existing databases and use all the tools without installing, you'll lose whatever work you do in the process if you reboot the machine.
If you want to use OSGeoLive as a permanent fixture, even installing additional software (like a newer PostgreSQL like 9.6 or 10), you'll
want to choose option 2 (use down arrow key): Install Lubuntu
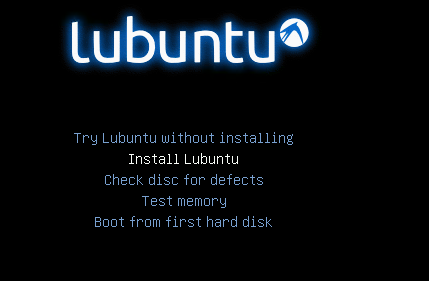
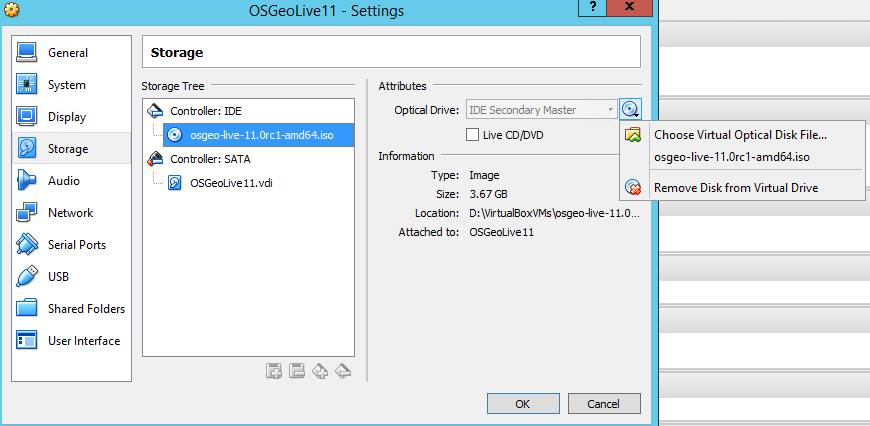
To do so reboot the VM. If you don't get the boot disk option, because you chose eject disk, you can go into configuration of the Virtual Box VM -> Storage -> Controller IDE and point at the iso file.
Follow the step by step instructions from there. Once installed, anything you do to your virtual machine e.g. install more stuff, create databases, create QGIS workspaces etc. will be maintained.
There is a scary message that says Erase disk and install OSGeo Live, this is perfectly safe to do since you are installing in a VM that already has it's own disk set aside so it won't harm your base OS.
One other issue I had with setup, the install dialog did not show all the buttons on screen, so I had to drag the dialog window to see the Continue button.